A Complete Guide to Hiking the O Trek in Torres Del Paine National Park
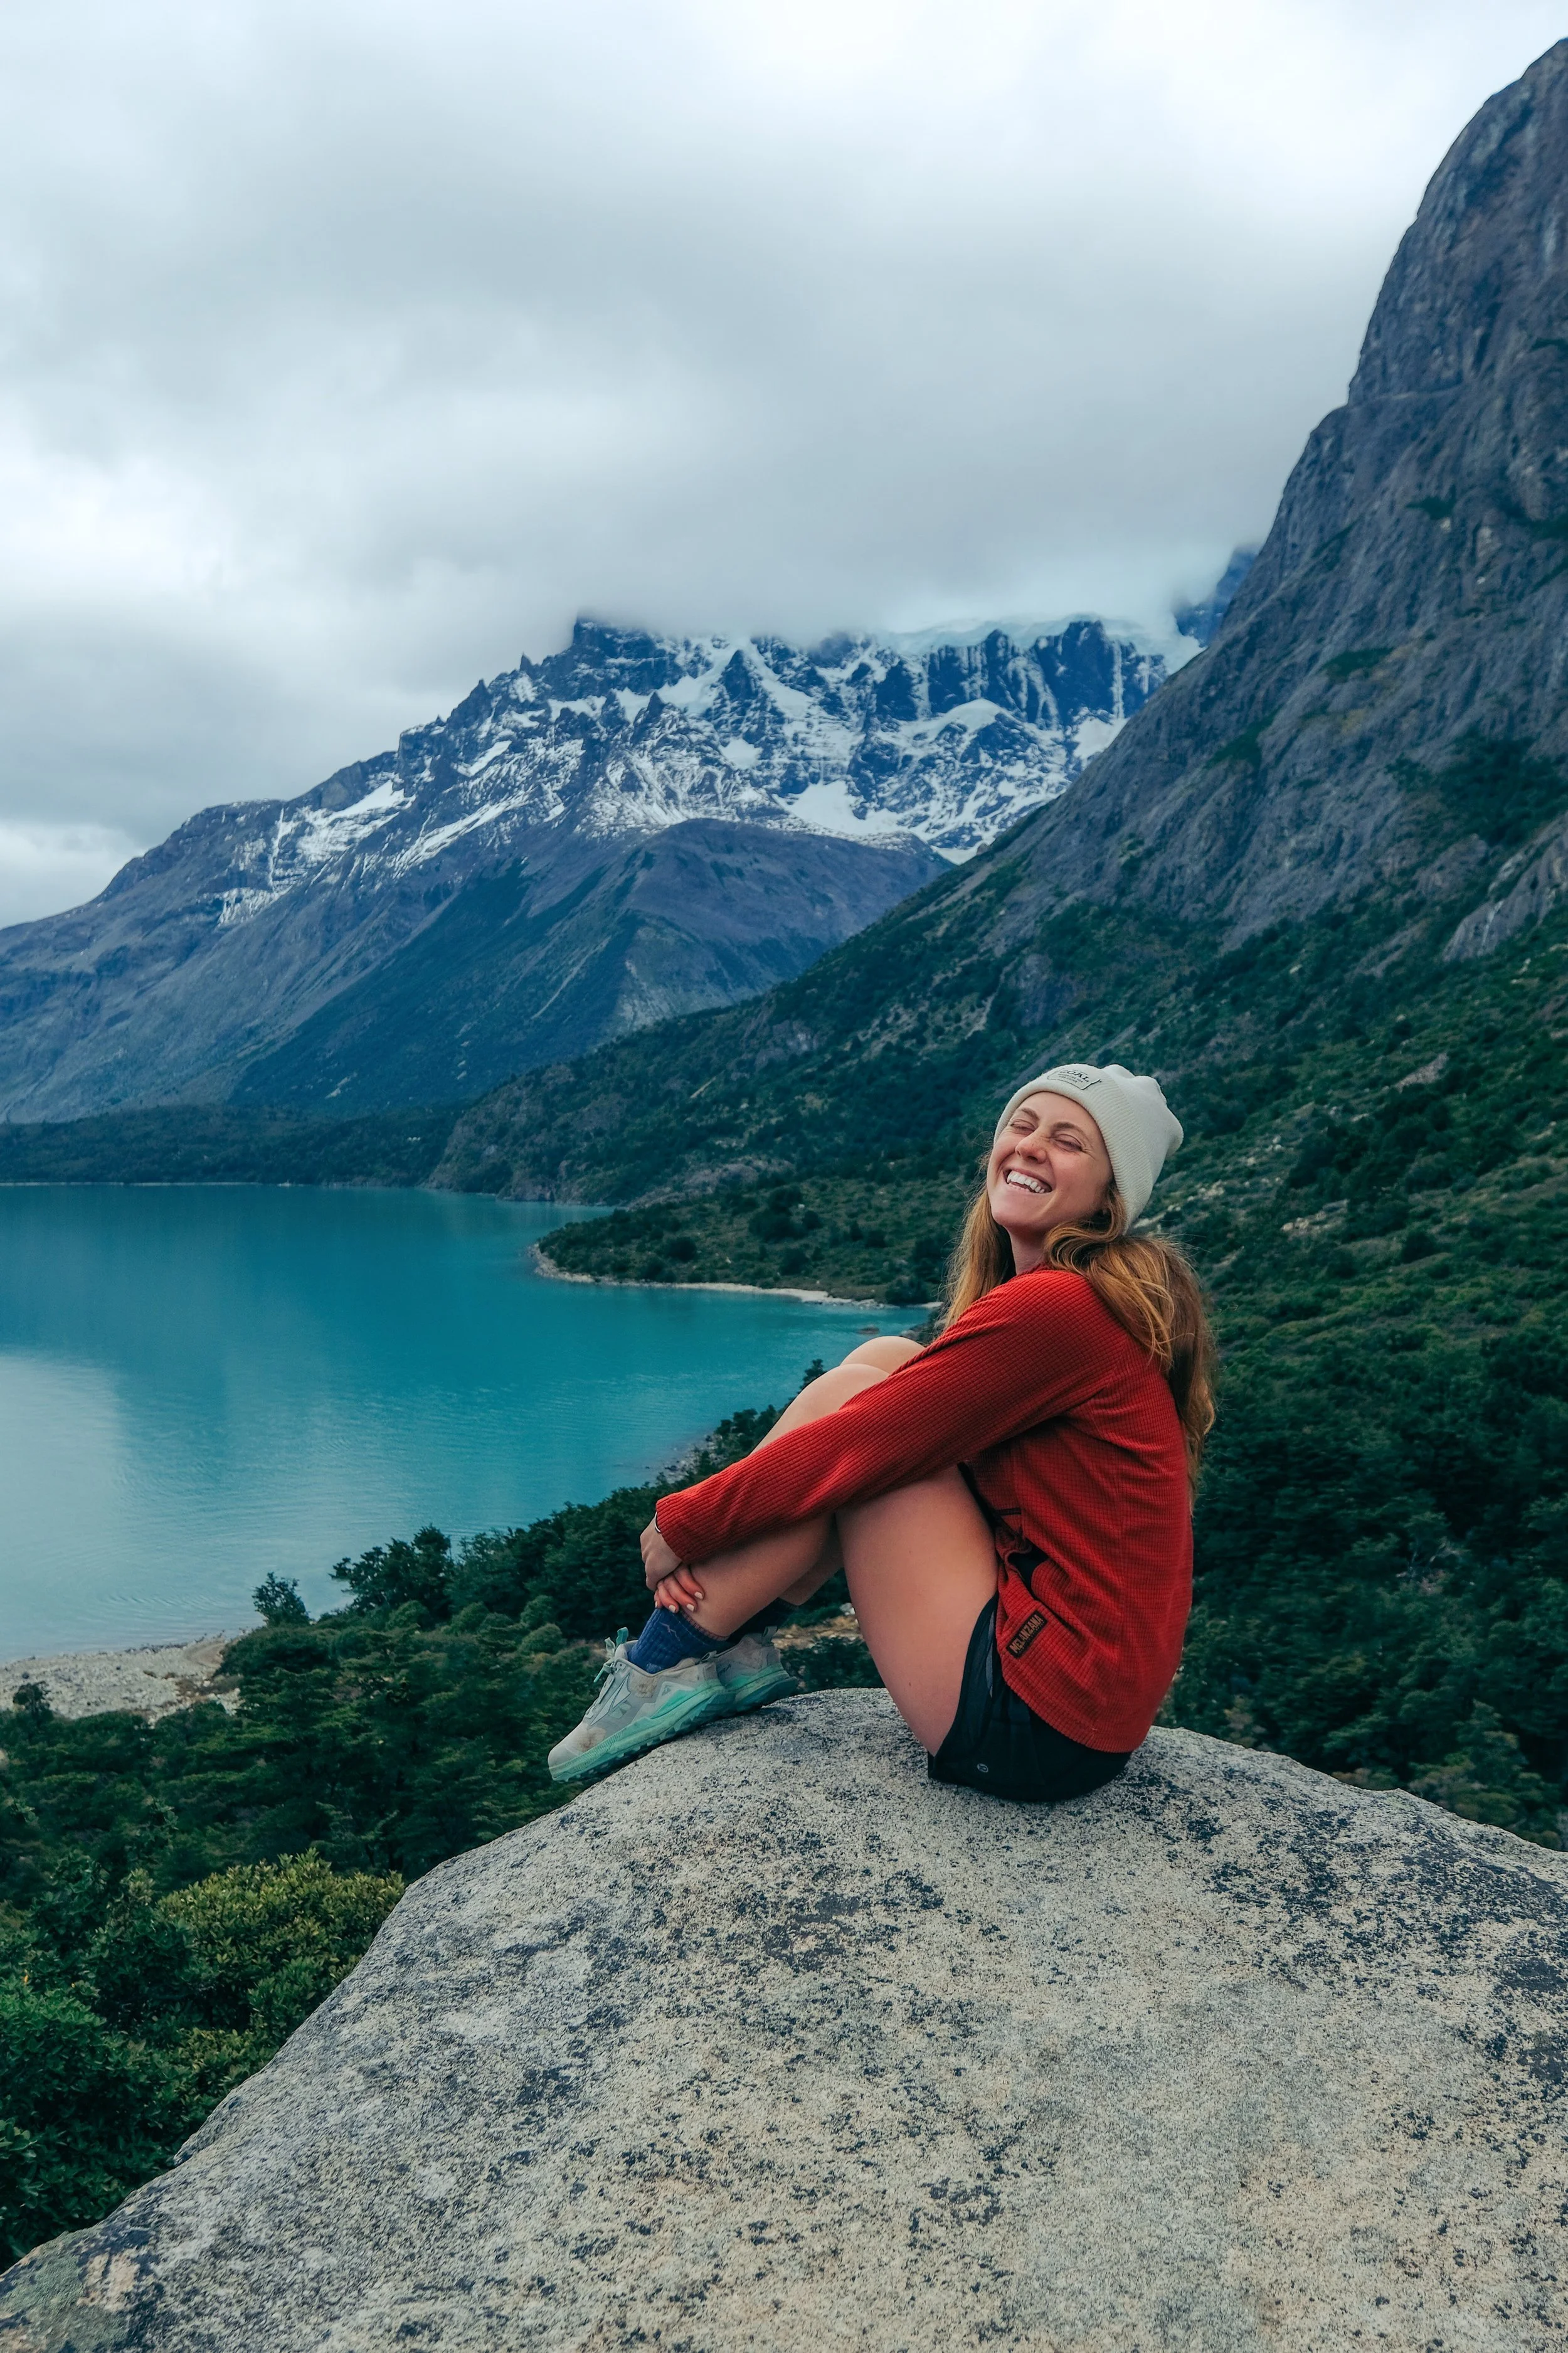
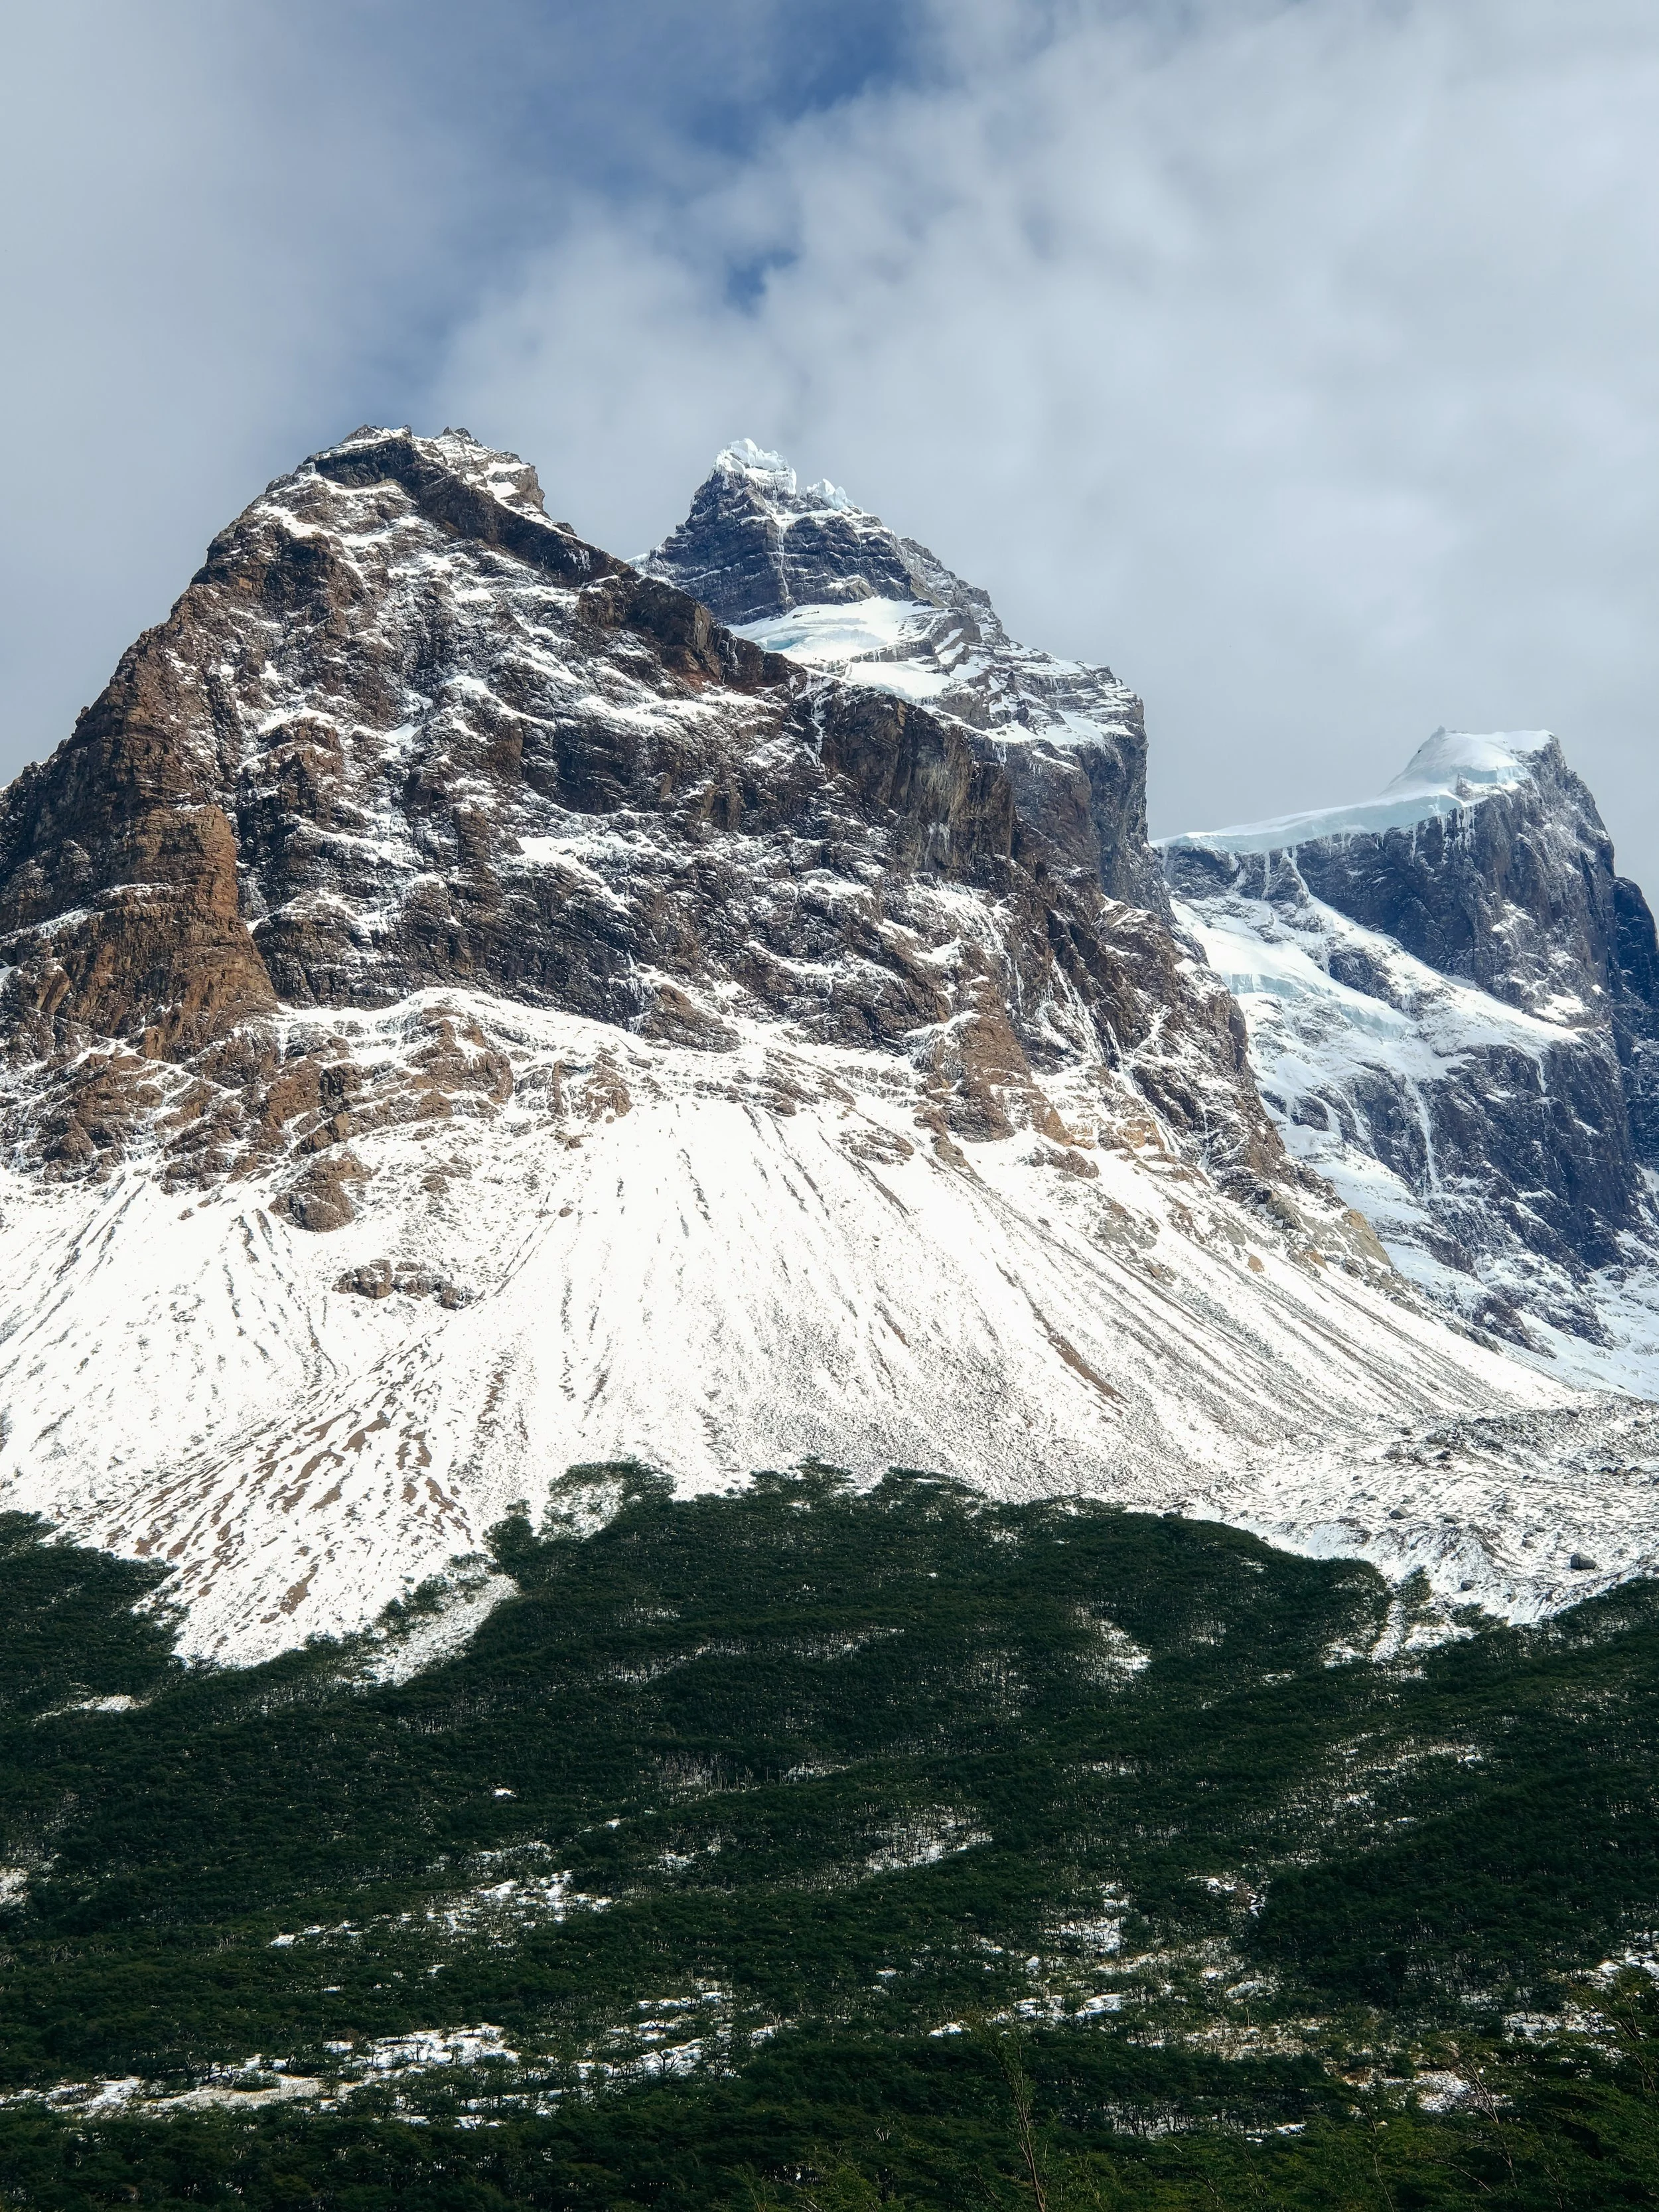
We’ve all heard of Patagonia before – the clothing brand or the incredible part of South America. Patagonia spans between both Argentina and Chile and is full of jaw-dropping mountain ranges, vast ice fields, spectacular glaciers, lush landscapes, and an abundance of wildlife. One of the most unbelievable places in Patagonia is Torres Del Paine National Park in Chile.
Within Torres Del Paine National Park, there are two multi-day treks, the “O” and “W” circuits, that allow you to experience the park in its entirety. The “W” trek is 46 miles and takes 4-5 days while the “O” trek is 76 miles and takes 6-11 days.
I hiked the “O” trek in 2023 and it was an unforgettable trekking experience. I couldn’t recommend it more. In this blog post, I provide a complete guide to hiking the trek, including information on the logistics, permits, itinerary, planning, costs, gear, etc.
What is the O trek?
Where: Torres Del Paine National Park, Chile
Difficulty: Challenging
How many miles: 76.4 miles/123 km
Total elevation: 14,867 ft./4531.5 m
How many days: 6-11 days
When to go: December to March
Permit: Required (see below for details)
Park entrance fee: $49/person
Weather: Very unpredictable (sun, rain, high wind, snow)
Cell service: none (some huts have WiFi but it doesn’t really work)
The “O” trek is a 76 mile loop around the scenic Cordillera del Paine mountains within Torres Del Paine National Park in Chile. This hike includes the entire “W” trek but also goes into the backside of the park to more remote areas. The “O” trek must be done counter-clockwise but can be started from Central (most popular - accessible by car or bus), Grey (accessible by boat), or Paine Grande (accessible by boat). See map below to understand what each route covers.
Day 1: Central to Seron (Red); Day 2: Seron to Dickson (Orange); Day 3: Dickson to Los Perros (Green); Day 4: Los Perros to Grey (Blue); Day 5: Grey to Paine Grande (Purple); Day 6: Paine Grande to Frances (Pink); Day 7: Frances to Chileno (Navy blue); Day 8: Chileno to Central (Brown)
Transportation
Torres Del Paine National Park is located near the Chilean-Argentinian border in South America. There are no nearby cities but it is still relatively easy to get there.
To Puerto Natales, Chile:
Option 1:
1. Fly from the United States to Buenos Aires, Argentina
2. Fly from Buenos Aires, Argentina to El Calafate, Argentina
3. Take a bus from El Calafate to Puerto Natales (5 hours)
Option 2:
1. Fly from the United States to Santiago, Chile
2. Fly from Santiago, Chile to Punta Arenas, Chile
3. Take a bus from Punta Arenas to Puerto Natales (3 hours)
If you have enough time, plan to stay in Puerto Natales, Chile for a night or two before your hike. It’s an awesome town filled with everything you may need to prep for your hike. There are tons of accommodation options - we stayed in this hostel and loved it. The hostel also allowed us to store anything we didn’t need while we were trekking.
To Torres Del Paine National Park:
There are two transportation options from Puerto Natales to Torres Del Paine National Park. Both of these options can be done in reverse when you leave the park.
Option 1:
1. Take a 2 hour bus ride from Puerto Natales to Laguna Amarga. The bus only runs twice a day - 6:45AM & 2:30PM (during peak season, a 12 PM bus is added to accommodate the crowds). The bus company is Bus Sur and it costs $12 per ticket.
2. Take a 15 minute shuttle from Laguna Amarga to the welcome center. It does not need pre-booking and costs $3.75. If you prefer to walk, the road is only 4.3 miles (7km) but extremely boring.
Option 2:
Hitchhike – would not recommend. We missed our bus on the way to the park and tried hitchhiking for hours with no luck. The road into the park is very quiet later in the day. We ended up paying someone way too much money to drive us from Peurto Natales into the park.
Permits
You must book your trek months in advance! I booked 3 months prior to my trip and got the last spots at some campgrounds. First, look at the maps, mileage, and elevation to create an itinerary that works for your schedule and hiking level. Second, check the two booking websites to make sure there is availability for campsites or refugios (cabins with beds) for the dates you want them. If there isn’t availability for every night, you can get creative with alternative options to make it work (longer days, shorter days, back-tracking, etc.). The park rangers are VERY strict and require you to check in at every single campsite. It is also strictly prohibited to disperse camp anywhere in the national park.
There are multiple camping options at each site:
1. Refugios: if you don’t mind spending a little extra money and prefer not to carry a tent, sleeping bag, and sleeping pad, this is the best option! Refugios are little mountain huts or backcountry hostels that are available at most of the campgrounds (not including Seron & Los Perros).
Dickson $40
Grey $92
Paine Grande $92
Central $125
Chileno $125
Los Cuernos $125
2. Premium/Fully-Equipped Campsite: this is a great option if you want to camp but don’t want to carry your own camping gear. There will be a tent, sleeping bag, and sleeping pad already set up for you when you arrive at camp. It’s also not the cheapest option.
Dickson $58
Los Perros $58
Grey $58
Paine Grande $60
Central $70
Chileno $70
Seron $70
Los Cuernos $70
3. Campsite on the ground (standard campsite): the cheapest option! If you don’t mind carrying all your gear, this will be the best option for every campground.
Dickson $10
Los Perros $10
Grey $10
Paine Grande $12
Central $25
Chileno $25
Seron $25
Frances $25
Los Cuernos $12
CONAF (closed in 2023)
Paso – free camping
Torres – free camping
Once you have a rough itinerary, campsites, and dates, you can go to Vertice Patagonia and Fantastico Sur websites to book your accommodations. They are both pretty straightforward and will allow you to add any rental gear you’ll need to rent or food you want to pre-order (further explained below).
My Itinerary
Day 0: Arrive in Torres Del Paine National Park
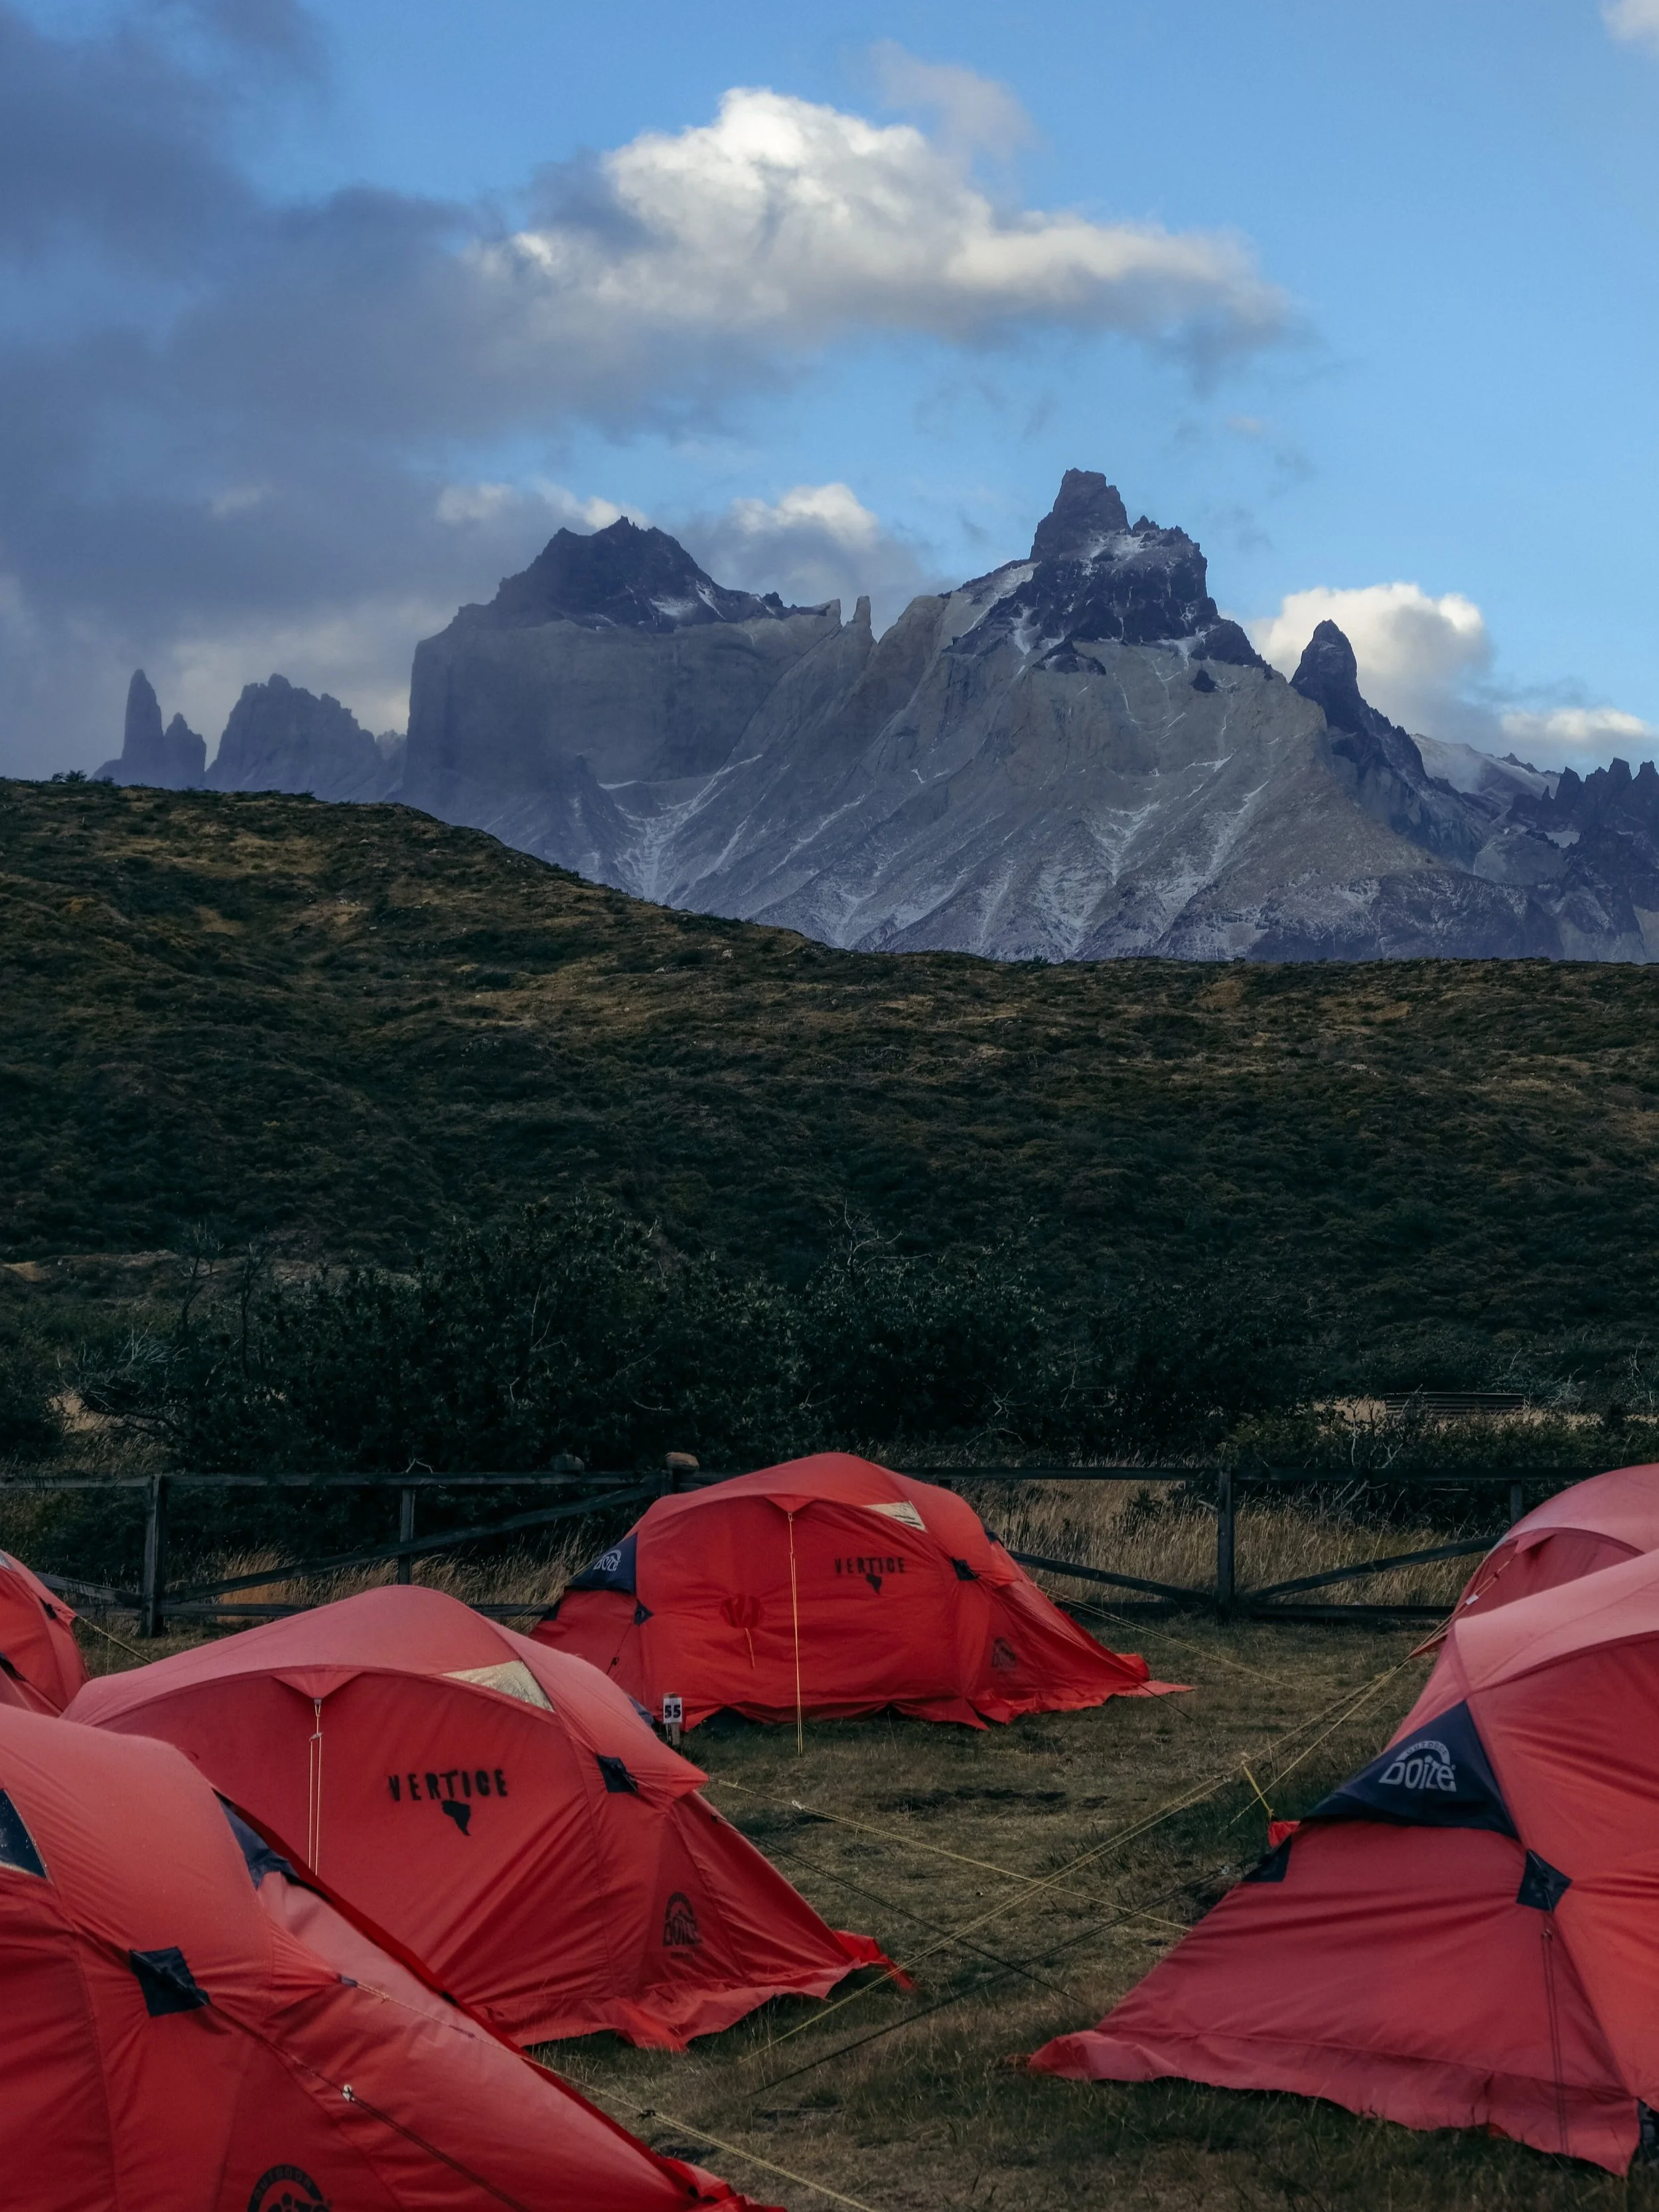
It’s time to head into the park! Take the afternoon bus from Puerto Natales to Torres Del Paine National Park. Your ticket to enter the park is checked at Laguna Amarga, right before the main entrance. Make sure it’s purchased in advance and have your QR code ready. When you arrive at the Central campground, check in at the welcome desk then find an open campsite. It was really busy when we arrived but we were still able to find a great spot with our own picnic table. The campground also has bathroom and showers if you need it.
views from our campsite at Central campground
Day 1: Central to Seron (8.1 miles/13km)
The Central campsite is right next to the start of the trek. There’s no need to start too early on day one as the trail is mostly flat and pretty easy. It winds through trees and meadows alongside the Rio Paine River. When you arrive at Seron campground, check in and find a camp spot in the big open meadow. If there’s a spot around the fence perimeter or tucked into the trees, try to snag it — the winds pick up later in the day.
There are bathrooms and showers available at the campground – one of the few hot water rinses I got on the entire trek. There is also a small dining area (if you purchased dinner in advance) and convenience store inside. If you brought your own food, there is a white tent to cook your dinner in. You must cook here if you are using a camp stove — they are only allowed at campgrounds in these designated areas. It’s also a great place to make friends with people that will be on the same trek schedule as you!
Day 2: Seron to Dickson (11 miles/18 km)
The hike out of Seron takes you through beautiful meadows alongside the Rio Paine and over an exposed pass up to Lago Paine. The exposed pass is known for its high winds – this was proven true when we got to the top. After the pass, the trail levels out for the rest of the day as you descend into Dickson. The views of the campground and Lago Dickson are incredible.
Dickson campground is SO beautiful and a lot more robust than Seron – remodeled buildings, a fully stocked store, indoor cooking area, and hot water showers after 4pm (mine was freezing cold though haha). There are plenty of campsites – we found one with a clear view of the surrounding mountains.
view from our tent of the Dickson refugio and surrounding mountains
Day 3: Dickson to Los Perros (7.4 miles/12 km)
This is one of the shorter days of the trail – take a slow morning at Dickson to really soak in all the views. To begin the day, the trail takes you up into the forest behind the campground. Once you emerge out of the woods, you get a clear view of glaciers and mountains in the background. Right before Los Perros, you are greeted with incredible views of Perros Glacier — where the magic of the trail begins. Take in the beauty then head over to Los Perros campground. This campground was my least favorite on the entire trail. There were few amenities, the staff were unfriendly, and a huge storm rolled in making the experience even less enjoyable. We went to sleep early in preparation for the biggest and hardest day on the trail.
*If you arrive at Los Perros before 12pm and are up for a side quest, you can request a ranger to accompany you to Puma Glacier. The trek requires route finding and backcountry experience, so you are not allowed to go without a ranger. We asked to go but unfortunately the rangers said no due to a snow storm.
Day 4: Los Perros to Grey (9.3 miles/15 km)
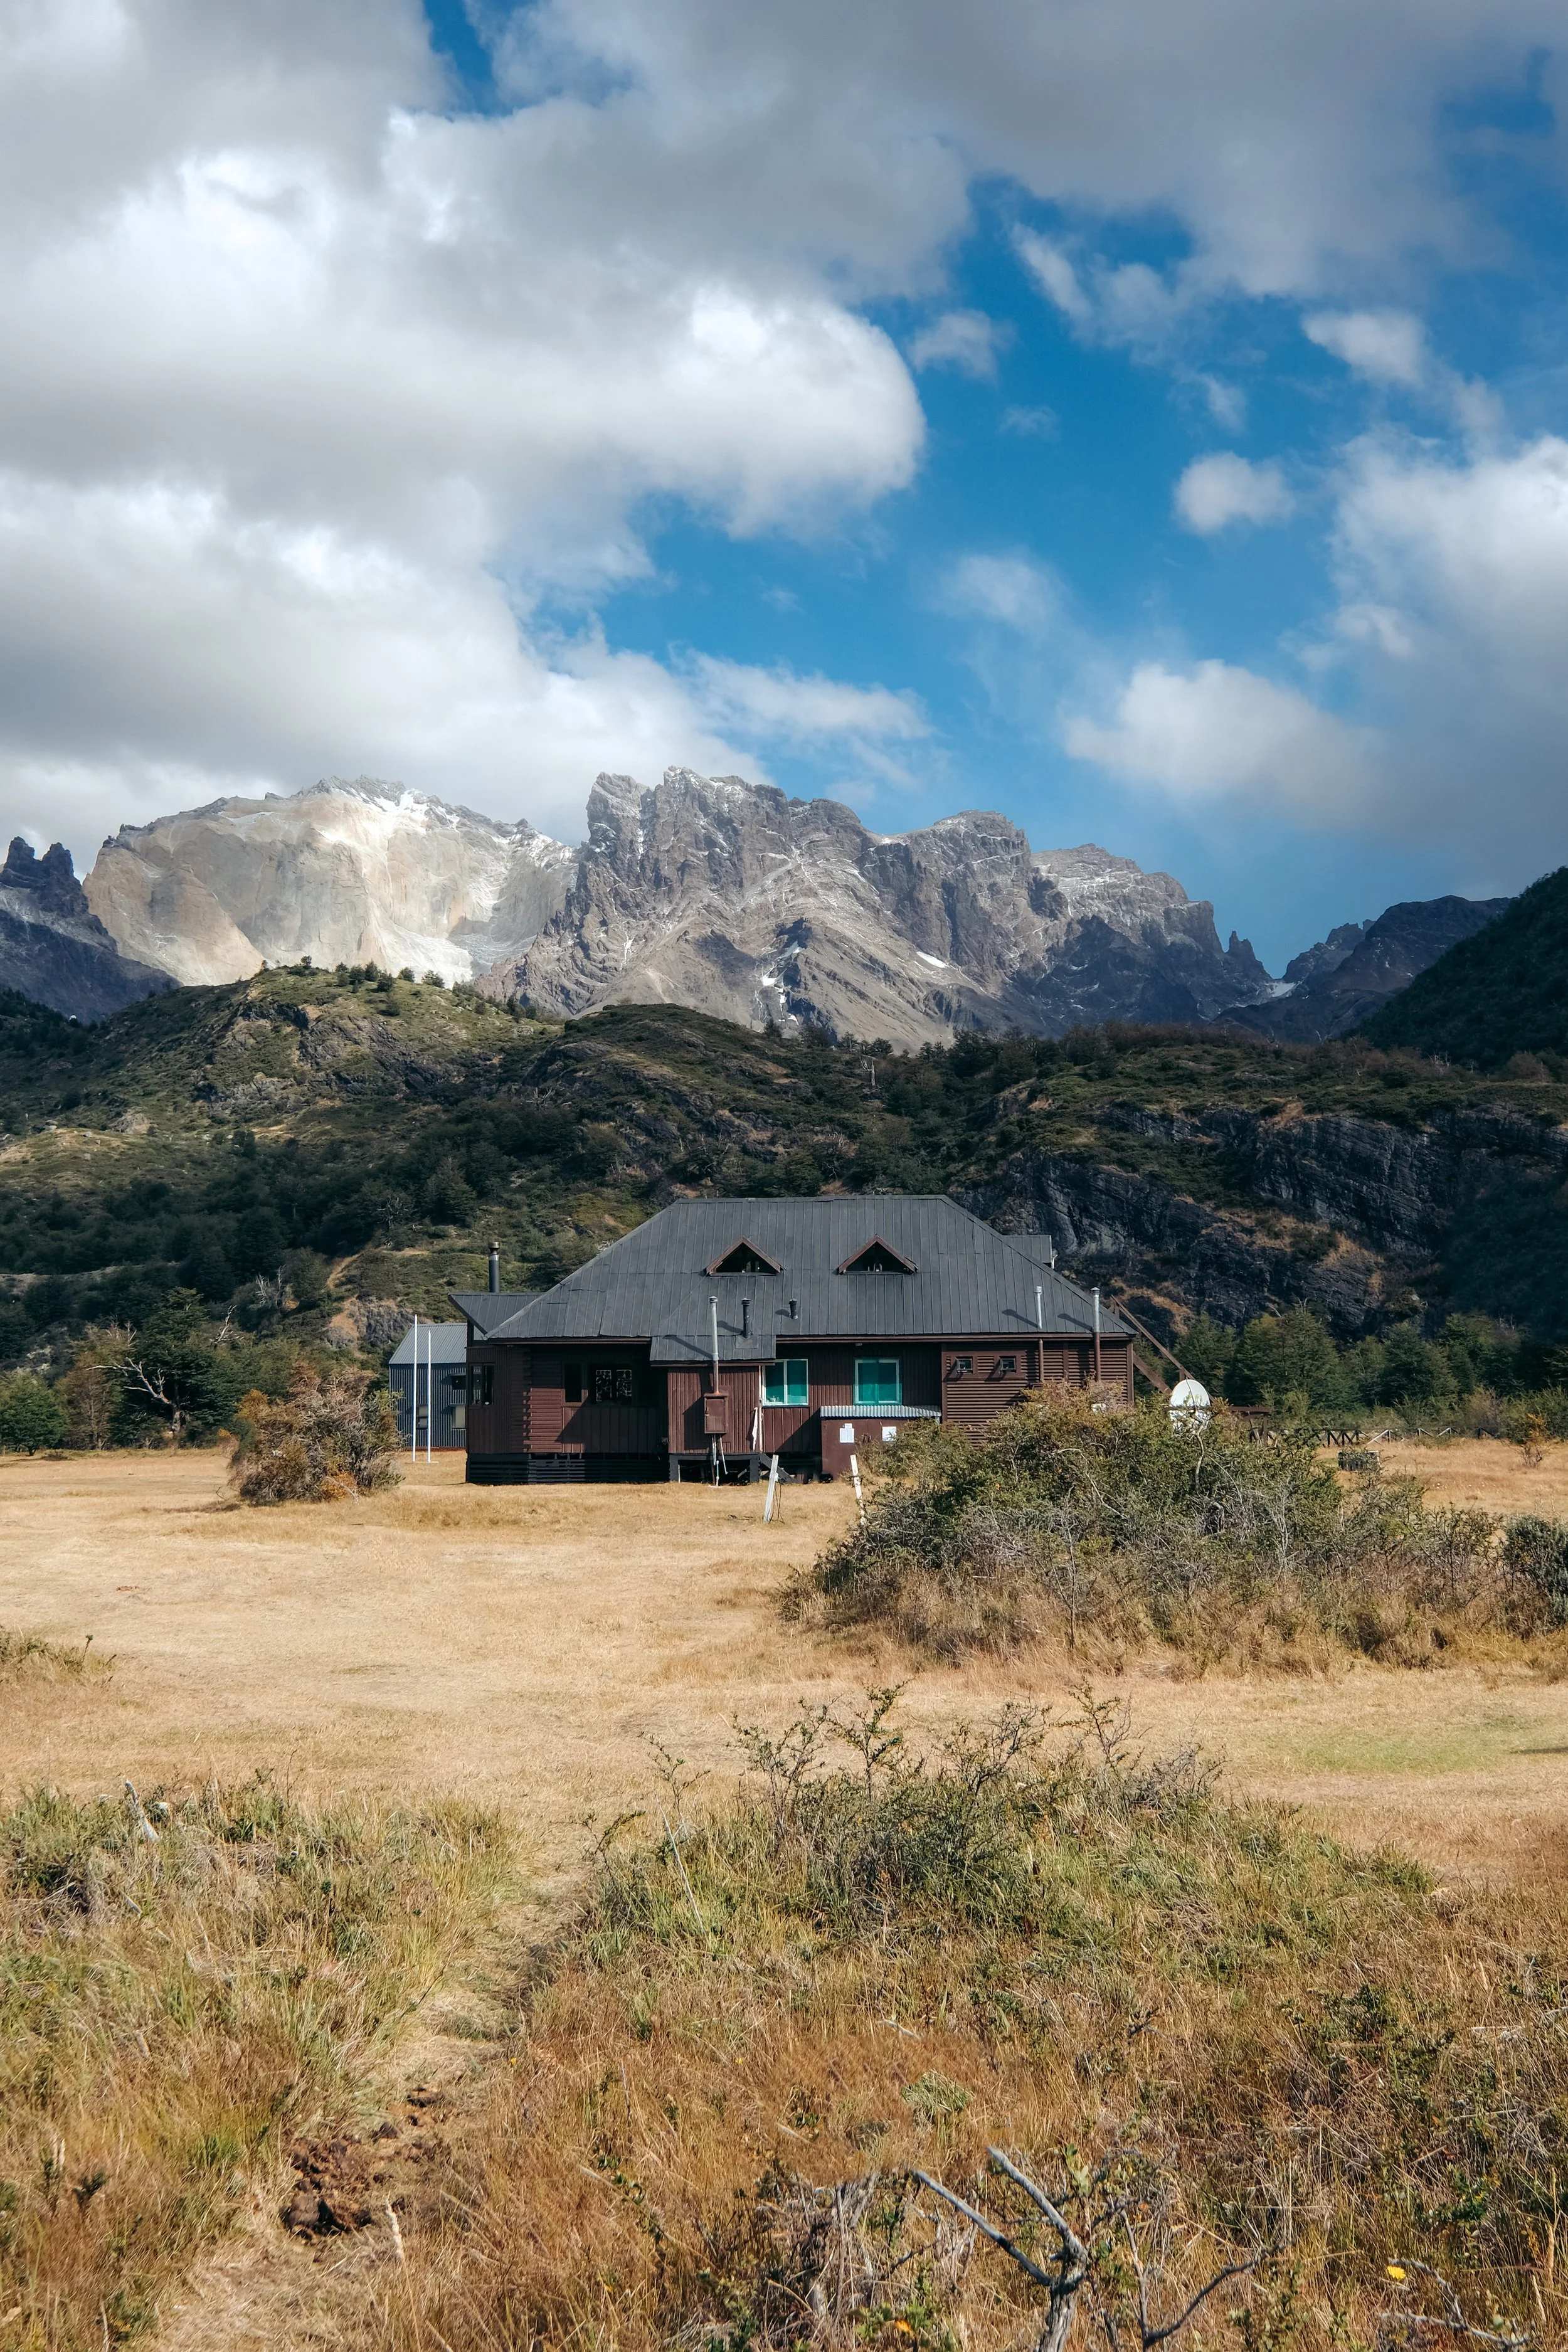
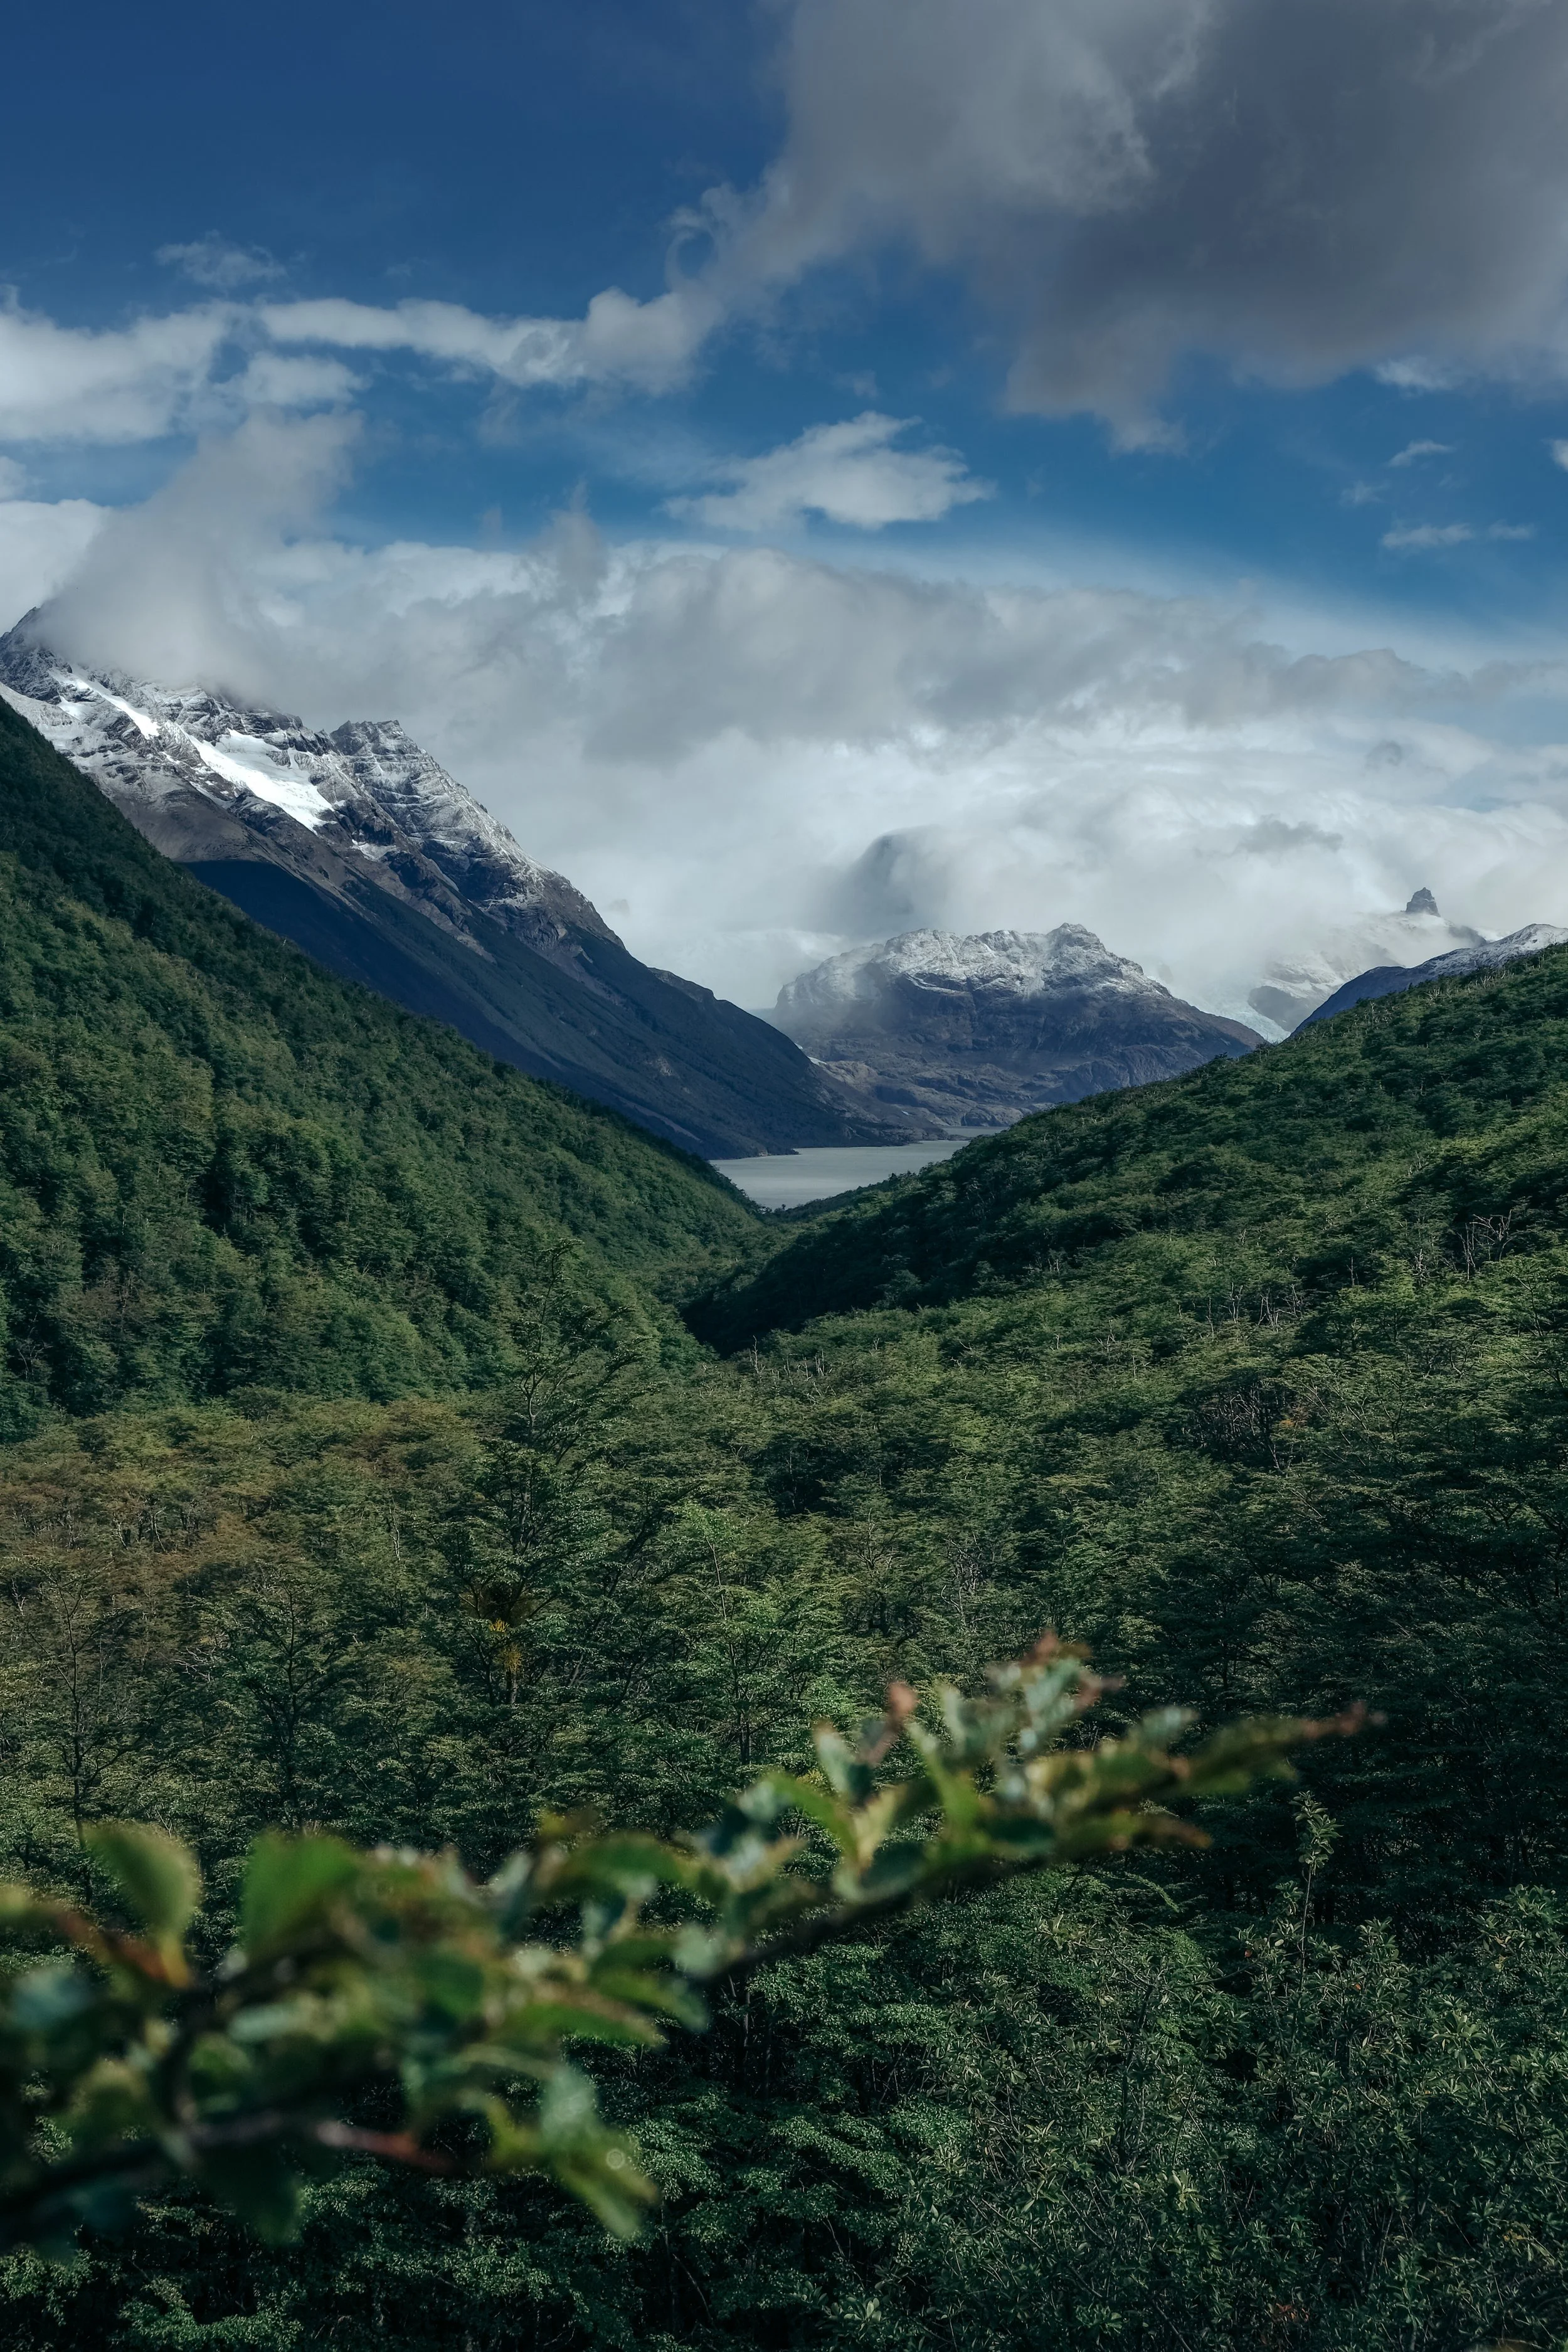
There is a mandatory departure of 7am from Los Perros. This is a non-negotiable with the rangers to ensure that everyone gets over John Gardner pass in a timely manner. We found out a blizzard was coming through the next day so we left at 5:30am. We were so happy we did this because the storm only got worse as we hiked. The climb over the pass was a lot harder than expected, especially in snow and wind, but you’re rewarded with views of glaciers the entire way up. Once you get to the top, you get your first glimpse of Grey Glacier - one of the largest ice fields in the world. I had never seen an ice field before so even with low visibility, this was incredible to see. After descending from the pass, the trail winds alongside the ice field. You have to cross three suspension bridges (a little sketchy so take them slow) before finally getting to Grey campground.
Grey was one of the nicest campgrounds of them all. We stayed in the refugio for the night because there was no campground availability when we booked. It was a nice treat after trekking through a blizzard all day with wet gear. We took luke-warm showers and got ourselves burgers from the restaurant. It was the perfect evening.
Day 5: Grey to Paine Grande (6.8 miles/ 11km)
If conditions are good, I’d highly recommend either an Ice Walk on Grey Glacier ($164/5 hours) or Kayak in Lagoon Grey ($70/2.5 hours) with Big Foot Patagonia. The ice walk is about 5 hours long with daily departures at 8:00am & 2:30pm. They provide all your gear and a professional guide. The kayak tour is about 2.5 hours long with daily departures at 9:00am, 2:00pm, & 5:00pm. They also provide all the gear you need for this including a wetsuit and waterproof jacket. We planned to do the ice walk but unfortunately due to blizzard conditions, it was cancelled.
If you plan to only hike to Paine Grande, the day is very short. The trail is mostly downhill with a few good viewpoints of the glacier behind you. This is also the first day you are met with people hiking the W trek. The trail becomes very busy with traffic in both directions.
Paine Grande is a beautiful campground and refugio, but for us, one of the windiest. We found a spot blocked from the wind, relaxed, and took the warmest showers on the entire trail.
Paine Grande campground views
Day 6: Paine Grande to Frances (11.4 miles/18.5 km)
The first 4.7 miles (7.5 km) from Paine Grande to Camp Italiano are relatively easy. This closed campsite is the perfect place to take a break and eat a snack before heading up the side trail to Mirador Britanico. Before you begin the hike up, you can put together a small day bag with water, snacks, passport, and camera, and leave your big bag at Camp Italiano. At this point in the trek, our bags were pretty light so we just decided to keep them with us.
The hike up to Mirador Britanico is a steep 3.4 mile trek up the Frances valley. On the way up the stunning valley, you’ll get views of the Frances glacier and breathtaking jagged mountain peaks. When you get to the top, soak in the views — I couldn’t believe what I was looking at.
Once you descend from Mirador Britanico and grab your bag from Camp Italiano, you’ll continue on to camp at either Frances (about 1 mile further) or Cuernos (about 3.2 miles further). We stayed at Frances – a small campground tucked into the woods on a hill. The tent sites are situated on wooden platforms, which require a little more time to set up a tent properly.
Day 7: Frances to Chileno (11.4 miles/18.5 km)
The beginning of this day takes you alongside Lake Nordenskjöld, until you reach the start of the valley. At this point, it’s all uphill as you make your way over Windy Pass and to Chileno campground. Chileno campground is also situated on a hill with wooden platforms, but has showers, picnic tables, and food available for purchase. When we arrived in the afternoon, the campground was crowded with day hikers finishing their hike to the towers (the most popular hike in the park), so it was nice when the sun went down and everything got quiet. The next day is an early one if you plan to get to Mirador Las Torres for sunrise!
views from the trail between Frances and Chileno
Day 8: Chileno to Central (8.6 miles/14 km)
We set off at 5am from Chileno to hike up to Mirador Las Torres. It’s a steep and rocky climb, that ends with turquoise waters, jagged peaks, and picturesque landscapes. It’s an incredible place to watch the sunrise and reflect on the beautiful journey you just completed. We got back to the welcome center by 10:30am, took a shuttle to Laguna Amarga, and finally a bus back to Puerto Natales at 11am. I’d highly recommend grabbing a spot on the 1pm bus back to town if you can – it was already full and we had to trail run the last few miles to make it on time.
sunrise at Mirador Las Torres
Alternative Itineraries
7 days
Day 1: Central to Seron (8.1 miles/13km)
Day 2: Seron to Dickson (11 miles/18 km)
Day 3: Dickson to Los Perros (7.4 miles/12 km)
Day 4: Los Perros to Grey (9.3 miles/15 km)
Day 5: Grey to Frances (18.2 miles/ 29.5 km) – hike Mirador Britanico
Day 6: Frances to Chileno (11.4 miles/18.5 km)
Day 8: Chileno to Central (8.6 miles/14 km) – hike Mirador Los Torres
8 days
Day 1: Central to Seron (8.1 miles/13km)
Day 2: Seron to Dickson (11 miles/18 km)
Day 3: Dickson to Los Perros (7.4 miles/12 km)
Day 4: Los Perros to Grey (9.3 miles/15 km)
Day 5: Grey to Paine Grande (6.8 miles/ 11km)
Day 6: Paine Grande to Frances (11.4 miles/18.5 km) – hike Mirador Britanico
Day 7: Frances to Cuernos (11.4 miles/18.5 km)
Day 8: Cuernos to Central (8.6 miles/14 km) – hike Mirador Los Torres
9 days
Day 1: Central to Seron (8.1 miles/13km)
Day 2: Seron to Dickson (11 miles/18 km)
Day 3: Dickson to Los Perros (7.4 miles/12 km)
Day 4: Los Perros to Grey (9.3 miles/15 km)
Day 5: Grey to Paine Grande (6.8 miles/ 11km)
Day 6: Paine Grande to Frances (5.9 miles/9.5 km)
Day 7: Frances to Cuernos (11.1 miles/17.8 km) – hike Mirador Britanico
Day 8: Cuernos to Chileno (10.3 miles/16.6 km)
Day 9: Chileno to Central (8.6 miles/14 km) – hike Mirador Los Torres
Gear
Torres Del Paine National Park is known for its intense and unpredictable weather. We experienced all four seasons in a single day. It’s important to prepare for anything.
For a full breakdown of everything I bring on a backpacking trip, check out my gear list. Some additional things to note:
-I packed my Hyperlite backpack and all of my gear in a Patagonia black hole duffel to travel to South America. I then stored that bag at a hostel in town with everything I didn’t need for the trek.
-Trekking poles are a must.
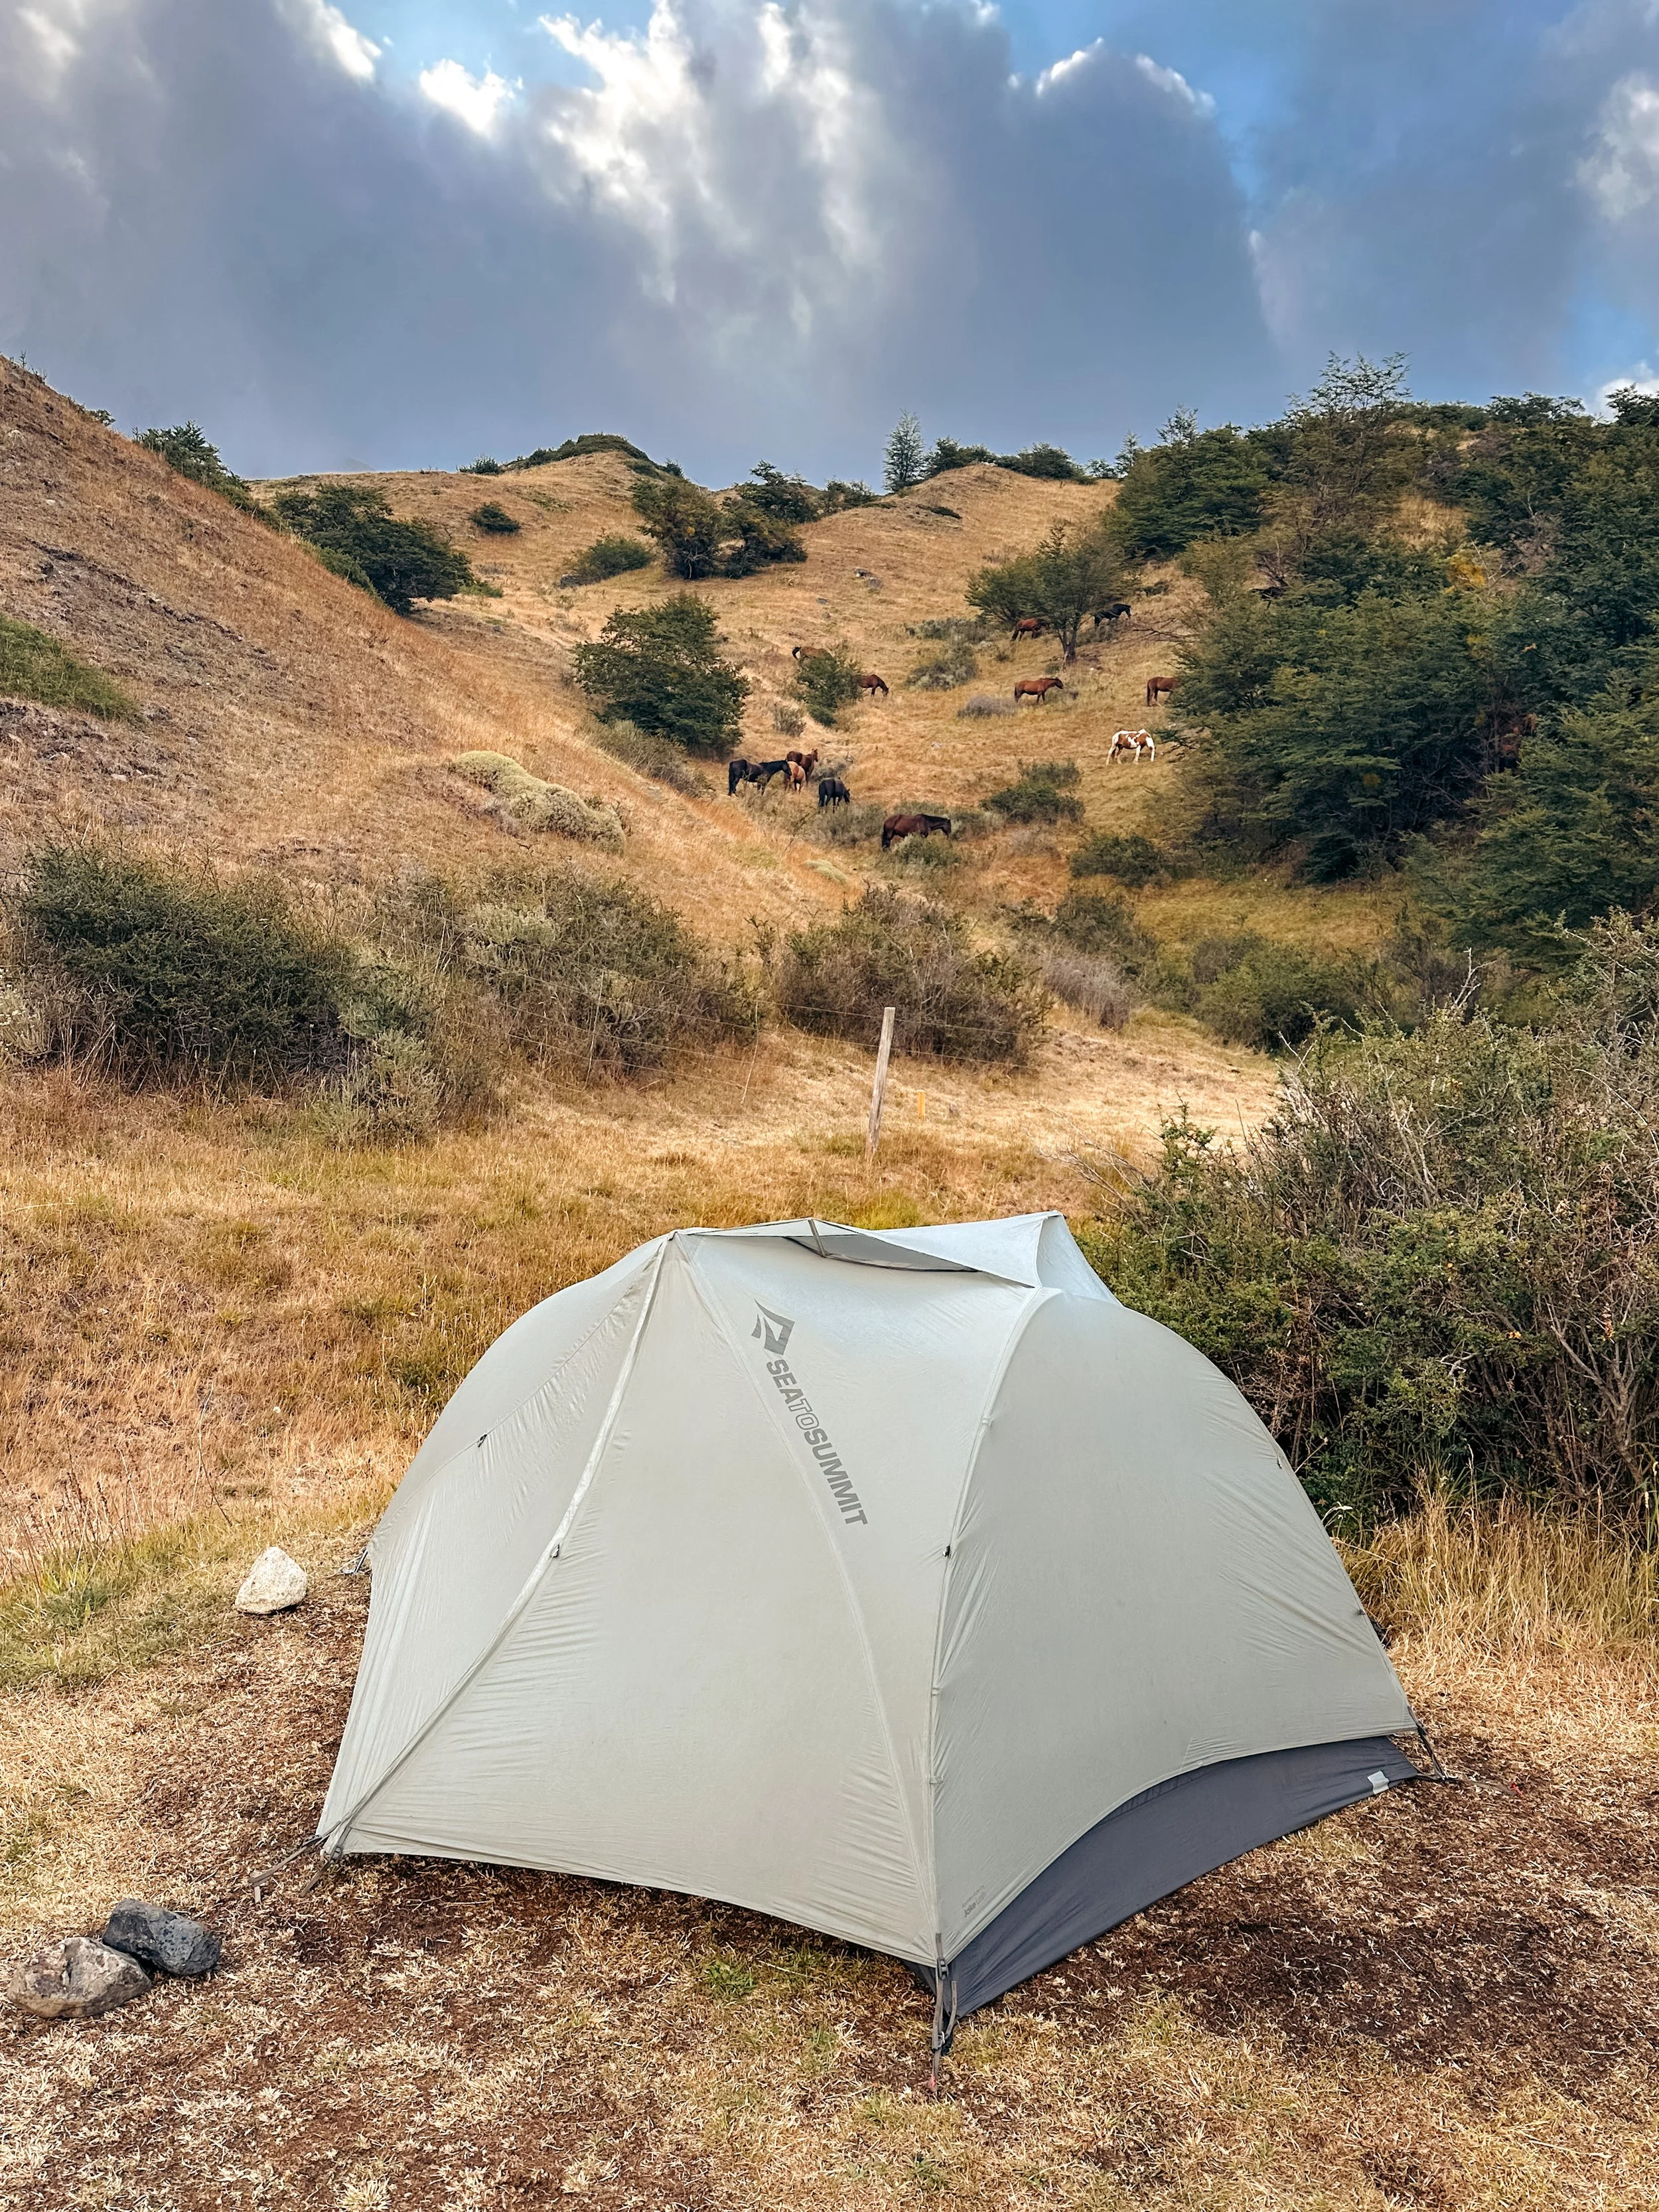
-A sturdy tent is key – we saw tents knocked over by wind or flooded by storms. I’d highly recommend bringing extra guy lines and stakes.
-Nights were always cold – bring a warm sleeping bag, sleeping pad with a high R-value, and puffy jacket.
-I wore trail runners and was confident in my choice to have lightweight shoes. Not ideal for the unexpected blizzard but they dried quicker than anyone with boots!
-Don’t forget GORTEX rain gear – jacket, pants, & backpack cover (if your bag isn’t waterproof).
-Bring a power bank and a wall charger + international adapter for your electronics. Most campsites have a place where you can charge your electronics.
-If you plan to shower at any of the campgrounds, bring a lightweight pack towel.
-Bring a Garmin InReach as an emergency device & satellite phone! It was also SO helpful to get the daily weather reports in the unpredictable environment.
If you don’t have gear, you can rent pretty much everything from hostels and gear shops in Puerto Natales or El Calafate. It isn’t cheap and the gear isn’t lightweight, but it works if you need it.
Food
On most backpacking trips, you have to pack all of your food for the entire trip. This trek is a little different. You have options depending on how much food you want to carry and how much money you have to spend. Most campgrounds have a small convenience store with snacks, candy, ramen, tortillas, pasta, soda, wine, beer, and toiletry items. I saw these as emergency items just in case I wanted more food. However, the two main options for food are: self-supported or full board.
Self-supported (what I did)
This means that you bring a stove, fuel (you can find in Puerto Natales), and all of your food for the entire trek. I brought a few of my favorite dehydrated meals, protein bars, and snacks from the US, but got most of my food at grocery stores in Puerto Natales. However, I’d highly recommend bringing as much food as you can from home as there were very limited options. It took me three grocery stores to find peanut butter haha.
This is the most affordable and sustainable option and in my opinion, the best. Only you know exactly how much fuel your body needs. However, I did cave in at Grey and buy myself a big burger for dinner because, why not?!
Supported (aka full board)
All of the campsites have kitchens where you can pay an additional fee for breakfast (cooked), lunch (bag lunch for your day’s hike which includes a sandwich, apple, & snacks), and dinner (cooked). This is a very expensive option but allows you to not carry a stove, fuel, or food for the hike. The price for a full day of food ranges from $61-$88 per day, depending on the campground.
*It’s important to note that if you are traveling through customs and border control, you are not allowed to bring any meat products, fruits, vegetables, eggs, or cheese. They will confiscate it!
organizing 8 days of food in our hostel
Total Cost
Here is a list of all my expenses (minus airfare) for my trek. I found it pretty easy to do this trek at a low cost. If you choose to do the trek through a guiding company, be prepared to spend up to $3000-$4000).
Bus from El Calafate to Puerto Natales: $36
Hostel in Puerto Natales: $49
Bus from Puerto Natales to Laguna Amarga: $12
Shuttle from Laguna Amarga to Torres Del Paine National Park: $3.75
Torres Del Paine park entrance fee: $49
Campsites for 8 nights: $211
Shuttle from Torres Del Paine National Park to Laguna Amarga: $3.75
Bus from Laguna Amarga to Puerto Natales: $12
Hostel in Puerto Natales: $49
Bus from Puerto Natales to Punta Arenas: $13
Food: About $100
TOTAL: $538.50
Additional Tips
Download Far Out and buy their guide for the O trek. Far Out is a GPS hiking app that shows mileage, elevation, Topo maps, water sources, campsites, and other important waypoints. It’s also interactive with waypoint comments from other hikers so you know about trail conditions and other important information.
Bring your passport and keep it protected from the rain. You will need it to check in at every campsite.
Most campgrounds take credit cards but when the wifi stops working (which is often), you’ll need cash! There are no ATM’s in the park so plan accordingly. We brought about 100 USD worth of Chilean pesos per person and that was more than enough.
Water is safe to drink at all of the campgrounds but I brought a filter to use in the backcountry
Most campgrounds have showers but most are cold or only have hot water for a few hours
Wifi is available for a fee at every campground besides Dickson, Los Perros, and Frances. I tried it once and it didn’t work. Don’t waste your money!
Resources
Chile Immigration - general tourist information
Torres del Paine National Park - entrance ticket
Vertice Patagonia - campground booking
Fantastico Sur - campground booking
CONAF - park services and information
Bus Bud - book all buses
Happy trekking on the hike of a lifetime! Leave me a comment with any questions and as always, please remember to Leave No Trace!
*Please note that some of the links in this post are affiliate links and I may earn a small commission if you choose to make a purchase – at no additional cost to you. As an Amazon Associate I earn from qualifying purchases. These funds help make it possible for me to provide you with these resources. Thank you!


